Simple Steps for Mapping Your Schoolyard

Now that school is underway, you may be trying to incorporate what you gained from participating in Taking Education Outside the School Walls. We covered a lot of ground and I hope everyone walked away with a few nuggets of worthwhile information.
Let’s circle back to how valuable it can be to scout your school grounds – all of it – gravel, pavement, grass, trees, playgrounds, and the space around the school. Intentional observations on how and where you can teach outside. Here are the simple steps to do so.
Mapping Your Outdoor Areas
Grab a few items:
- Printed view of your school grounds
- Notepad
- Pencil
- List of topics you cover in all subjects
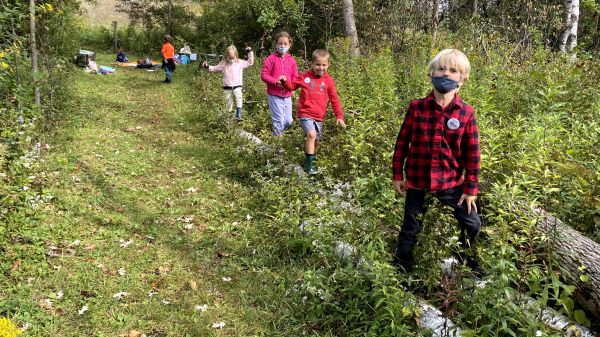
Here is an example of an Outdoor Map I’ve created. Start walking around your school and find spots where your whole class would be able to congregate as a group. Find multiple environments: shaded or covered areas; covered by trees or buildings in case it rains, locations out in the sun, and maybe a mix of them all. What does the area look like around these spaces? Are there playgrounds, trees, exposed soil, grass, prairie, pond, asphalt, hills, and landscaped areas? You do not need huge open green areas to teach outside, work with whatever assets your school has to offer. Consider how you can bring your lessons outside and teach in the space you have before you. Need materials? Students can carry materials outside – this gives them both purpose and responsibility.
Matching Lessons with Outdoor Spaces
What lessons and topics do you cover with your students throughout the year? Are you working on addition or subtraction? Maybe you could you use sidewalk blocks, pine cones, trees, or work on that worksheet while sitting under a tree. If they are learning about insects seek a spot in the school yard where plants grow or ant hills spring forth, bring magnifying glasses out to explore these locations. Is there a great shade tree to read to your class beneath?
If learning about creating graphs, you can count birds during different times of the day. Are there spaces to take a sensory walk? Students can learn about human impact, plant identification, and soil all within your school yard. What material is your parking lot made of? In exploring this you can you teach about different surfaces, permeability, how water interacts with and absorbs (or doesn’t!) through them. You can explore the sun and moon while learning about shadows coming from any part of the building, structure, or landscaping.
Silent sit spots are a great way to make seasonal observations, and students can learn about how the natural world changes (what we call phenology) by going back to the same spot multiple times. Is there a pond nearby…if not you can observe puddles at a safe parking lot location where water pools. If learning about animals you can take students on an observation walk. Additionally, outdoor space is great for brain break movement activities. After all, there’s a reason why recess takes place outside!
You can move your teaching outside in many ways – one way is just to determine a new environment for teaching to take place and the second step is to incorporate that environment into your lessons.
If you have yet to map your schoolyard so you can have a quick reference to look at through the year, I highly recommend that you create one. It is easier to look at your map and remember spots then try to do it on the spot before a lesson. Enjoy whatever outdoor space you have!
Written by Rachel Feerick, Riveredge Nature Center Scientist in Residence
